To replace or clean the inside of the Hydraloop solenoid valve, multiple steps have to be executed.
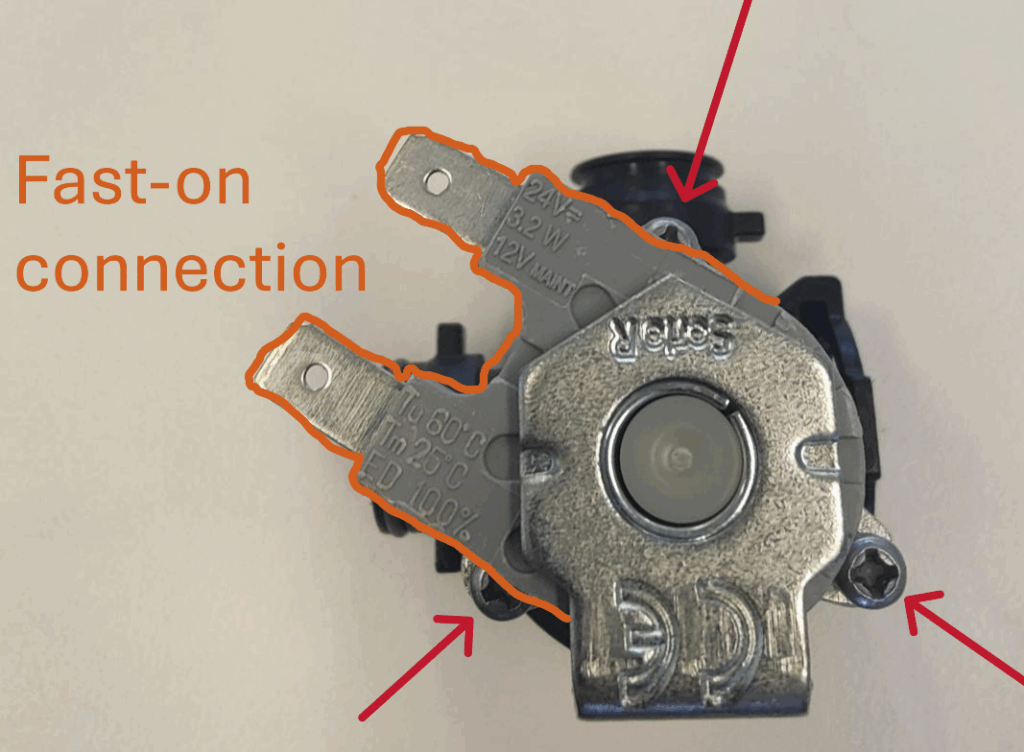
To access inside of the valve, unscrew the 3 screws of the side of the valve. See below image. If 1 screw is hard to reach because of the fast-on cabling, it is possible to rotate the fast-on connection away from the screw.
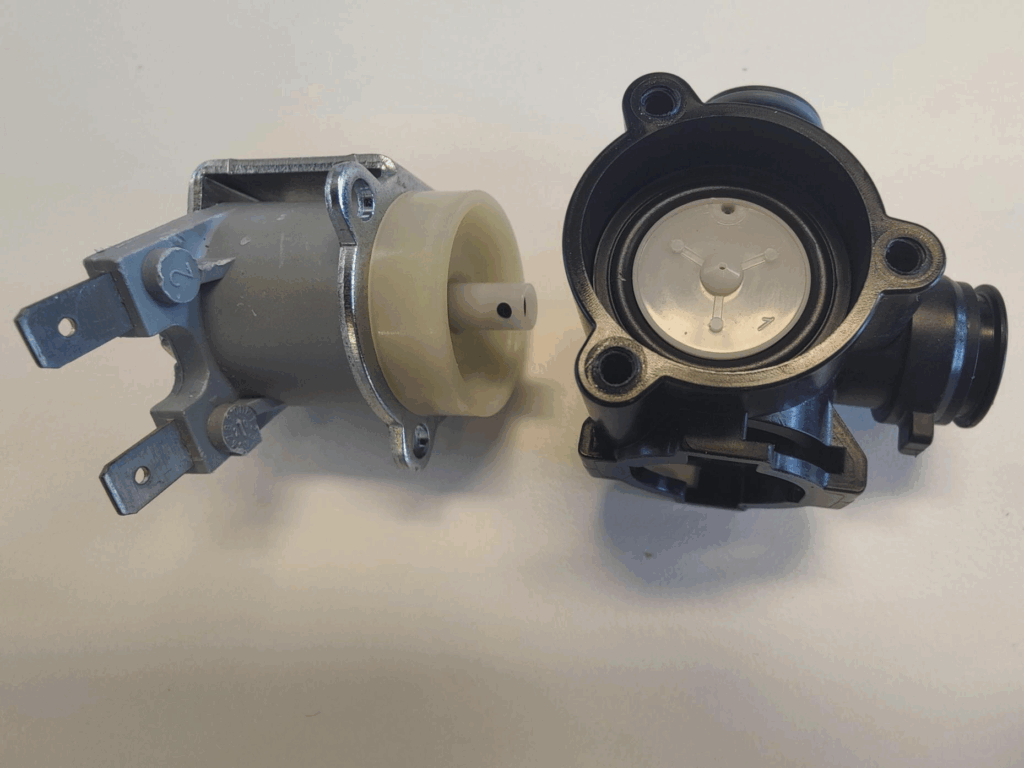
After removing the screws, keep the valve sideways. Otherwise the parts fall out. Then slowly pull the the valve apart sideways. The valve will be in two pieces like below photo.
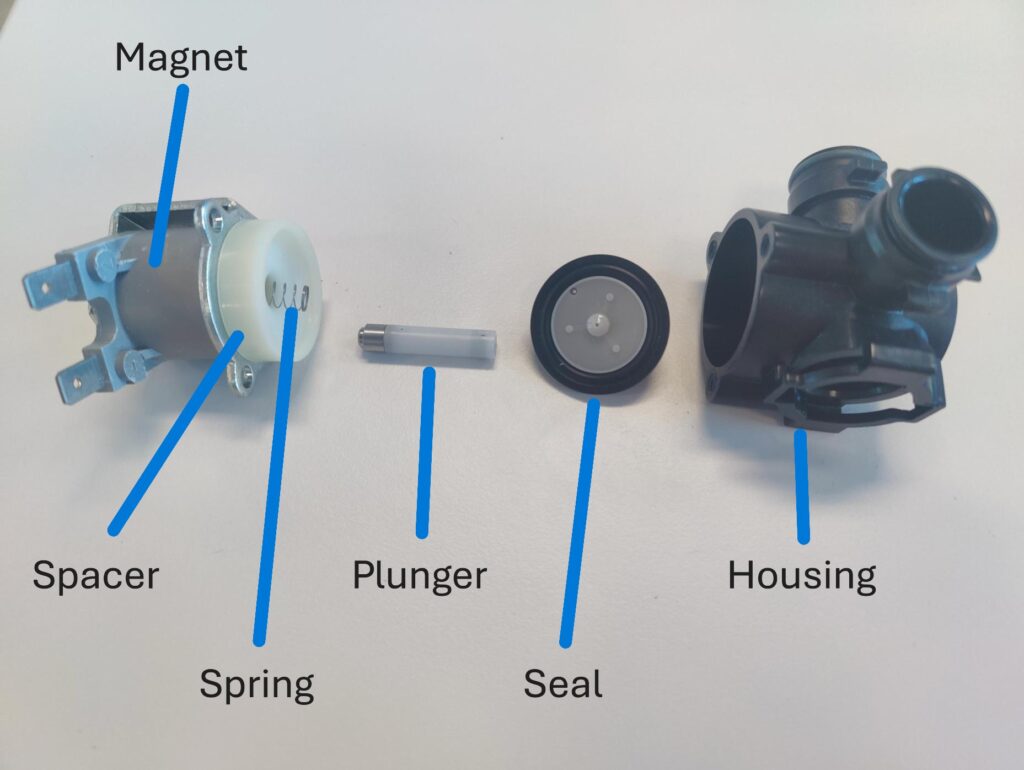
The solenoid consists of multiple parts. Pay attention to not drop any of them. See below image of all parts. (shown in the correct installation order)
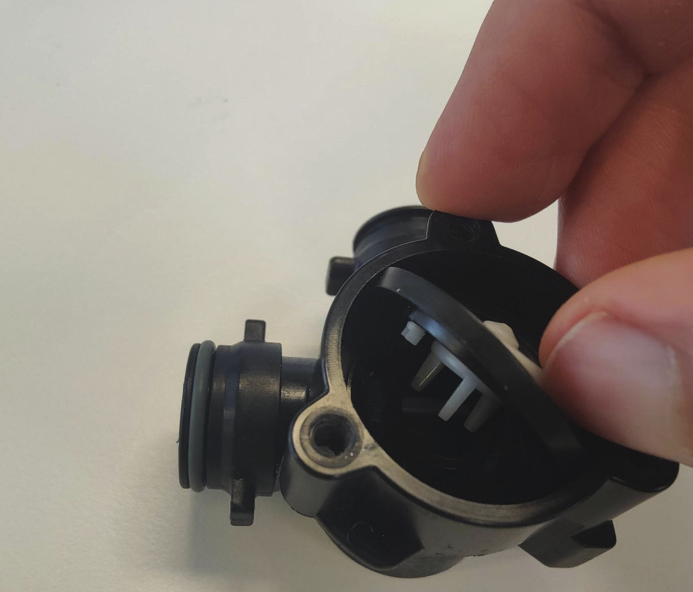
To remove the ‘Seal’: Use your fingers or a blunt tool. This prevents damage to the seal. See below image.
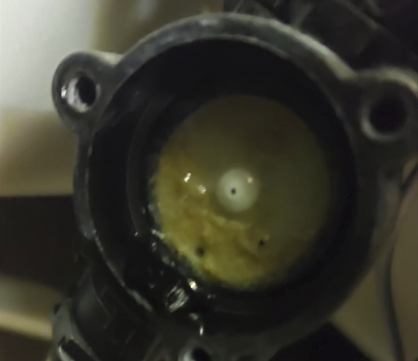
To clean a dirty valve, gently rinse/scrub all parts. See below image of an example dirty ‘Seal’ of the valve.
To replace the valve, use above image of parts. And replace everything except the ‘Housing’ part of it. Make sure the order of the parts being re-installed is in line with the image. And pay special attention to the ‘Spring’ of the valve being installed.